


Block print stamps are one of the most satisfying things you can make with your own hands. A single carved stamp can be pressed hundreds of times - on paper, cards, fabric, wrapping paper, tote bags - and every impression carries the unmistakable texture of something handmade. This guide walks you through the full process: choosing your block material, designing your image, carving it cleanly, inking it correctly, and printing it by hand or with a press.
What Is a Block Print Stamp?
A block print stamp is a carved relief block used to transfer an inked image onto a surface. You carve away everything you don't want to print, leaving the design raised on the surface. When you ink that raised surface and press it onto paper or fabric, the ink transfers as a clean, repeatable print.
Block printing stamps work on the same principle as linocut printmaking, letterpress, and woodcut - all relief printing techniques. The difference is scale and intent: a block printing stamp is typically smaller, used by hand pressure rather than a press, and designed for repeat applications rather than a single large composition. That said, many printmakers use the same carved lino blocks as both fine art prints and stamps - the technique is identical.
Block Printing Stamp Materials: What to Carve
The material you carve determines how your stamp behaves - how easy it is to cut, how much detail it holds, how long it lasts, and how it feels to print.
Soft Rubber Carving Blocks
Soft rubber blocks (sometimes called eraser carving blocks or stamp carving blocks) are the most beginner-friendly option. They are very soft, carve in any direction without resistance, and require almost no force. Popular for children's projects, quick prototypes, and casual stamping. The downside: the softness that makes them easy to carve also makes them prone to tearing on fine details, and they are less durable than linoleum over a large edition.
Linoleum - the Printmaker's Choice for Block Printing Stamps
Linoleum is the standard material for serious block printing stamps. It is firm enough to hold fine detail and crisp edges, consistent in texture across the whole block, and far more durable than soft rubber. A linocut stamp carved carefully will hold its edge through hundreds - even thousands - of impressions without degrading.
Linoleum for printmaking (sometimes called "lino") is made from linseed oil, cork dust, and wood flour pressed onto a jute or canvas backing. It carves cleanly in all directions, unlike wood, which requires awareness of grain. If you have carved soft rubber stamps before, linoleum will feel noticeably firmer - but that firmness translates directly into better detail, cleaner edges, and a stamp that outlasts its soft rubber equivalent by a significant margin.
For stamp-sized work (roughly A6 and smaller), a standard lino sheet cut to size is ideal. Larger stamp designs work well at A5 and A4 format.
Wood
Wood blocks can be used as printing stamps but require grain-direction awareness and are harder to carve for beginners. They are more appropriate for larger relief prints than for the quick, detailed stamp work most people have in mind. For stamp making, linoleum is almost always the better choice over wood.
What You Need to Make a Block Printing Stamp
The supply list is very short - that is one of the best things about stamp printing. You need three things:
- A carving tool - V-gouges for outlines and fine lines, U-gouges for clearing larger areas
- A roller (brayer) - for applying an even layer of ink to the block
- Ink - block printing ink suitable for your surface (paper or fabric)
That is genuinely all you need to start. No press required. You carve the design, roll ink onto the block, press it down by hand onto paper - and you have a print.
If there is one upgrade worth adding early on, it is a baren. A Glass Baren or Wooden Baren sits perfectly in the stamp technique: you hold the baren in one hand, place the inked block on the paper, and burnish the back with firm circular strokes. The result is noticeably cleaner and more even than pressing with a palm alone - and you still need no press, no electricity, no setup. Just the baren and your hand.
A few extras make the process smoother: a cutting mat protects your table while carving, a palette knife helps spread ink evenly on the slab before rolling, and a lino sheet gives you good material to carve into.
Our Lino Cutting Set includes the core gouge shapes you need - both V-gouges for detail lines and U-gouges for clearing. The Cutting Set with Screw Fitting is the professional option with interchangeable blades and a more ergonomic handle. If you build up a larger collection of gouges over time, the Lino Chisel Rack keeps every tool organised.
Step 1: Design Your Block Print Stamp
Start simple. The most common mistake in stamp carving is attempting too much detail on a first attempt. Fine lines, small text, and complex patterns are all achievable in linoleum - but they require experience with the tools before they become reliable. For your first stamp, choose a bold, graphic design: a leaf, a geometric shape, a simple animal silhouette, a single letter or monogram.
Designing for Reversal
Block printing stamps print in reverse - the block is a mirror image of the final print. This matters most when your design includes text, numbers, or a clearly directional image (a face looking left, an arrow pointing right). For non-directional designs like flowers, geometric shapes, or abstract patterns, reversal is usually not an issue.
To transfer a reversed design onto your block: draw it on tracing paper, flip the paper face-down onto the block, and rub the back to transfer the graphite. Alternatively, draw your design with a soft pencil, photocopy it in reverse, and transfer the toner to the block surface using a small amount of solvent on a cotton pad.
Drawing on the Block
Draw directly on the lino or rubber surface with a soft pencil or fineliner. Keep lines clear enough to follow while carving. You will be removing everything outside your design, so mark the areas to be carved with hatching or shading to avoid confusion while you work.
Step 2: Carve Your Stamp
With your design drawn on the block, start carving. The fundamental rule of relief printing: what you carve away will not print. The raised surface - everything you leave - carries the ink and transfers it to the paper.
Which Gouge to Use
Use a V-gouge for outlines and detail lines. The narrow V-shaped profile gives you control over fine edges and lets you follow curves accurately. Use a U-gouge (sometimes called a veiner or round gouge) for clearing larger background areas. A wider U-gouge removes material quickly; a narrower one gives more control in tight spaces.
Start by outlining your design with a V-gouge, then clear the surrounding area with progressively wider U-gouges. Work from the outside of large areas inward, taking shallow passes rather than digging deep on a single stroke.
Carving Safely and Cleanly
Always carve away from your holding hand - never pull a tool toward your fingers. On linoleum, use firm, steady pressure; let the sharpness of the tool do the work rather than force. Dull tools require more force, reduce control, and are more likely to slip. Strop your tools regularly on a leather strop with honing compound to keep the edge sharp throughout a carving session.
Work in good light so you can see the depth and direction of each cut. Hold the block steady - a non-slip cutting mat or a damp cloth beneath the block prevents it from sliding as you carve.
Test Print as You Go
You do not need to finish carving before taking a proof. Ink the block lightly and press it onto scrap paper to check progress. This is one of the most useful habits in stamp carving - a quick test print shows you exactly what the stamp looks like at the current stage and reveals areas that need more carving before you commit to the final edition.
Step 3: Ink Your Block Print Stamp
Inking is where most printing problems start. Too much ink fills fine details and produces muddy prints. Too little ink gives pale, uneven impressions. The goal is a thin, even film of ink across the entire raised surface of your stamp.
Setting Up the Ink
Squeeze a small amount of ink onto a smooth surface - a sheet of glass, acrylic, or a ceramic tile works perfectly. Use a palette knife to spread the ink into a rough rectangle slightly wider than your roller. Roll the ink out until the surface shows a thin, even layer with a slightly tacky sound as the roller moves - this is the sound of correct ink consistency.
Rolling Ink onto the Stamp
Roll the inked roller directly onto the raised surface of your stamp block. Apply even pressure and cover the whole design in two or three passes. The surface should look evenly coated - not shiny or thick (too much ink), and not patchy or pale (too little). If detail areas look filled with ink, wipe the block clean and start again with a thinner ink film.
For stamp-sized work, a 6 cm roller gives you precise control. A 12 cm roller is more practical for longer sessions or bigger blocks. For A3 or A4 stamp blocks, the 18 cm roller covers the whole surface in one or two passes.
Which Ink to Use for Block Printing Stamps
For paper stamping, oil-based or hybrid oil/water inks give the richest, most consistent results. Our Renesans H2Oil ink is a hybrid ink that combines the quality and open time of oil-based inks with water-based cleanup - ideal for stamp printing because it stays workable during a long session without drying on the block between impressions.
For fabric stamping - t-shirts, tote bags, tea towels - use a fabric-specific ink or fabric medium mixed with your block printing ink. Fabric inks are heat-set after printing (usually with an iron or heat gun) to make the print washable. Standard paper inks will wash out of fabric and are not suitable for textile stamping. Place a sheet of Lino Felt beneath the fabric while printing - the slight cushion helps the ink transfer evenly into the weave and produces a much crisper impression than printing on a hard surface.
Step 4: Print Your Block Print Stamp
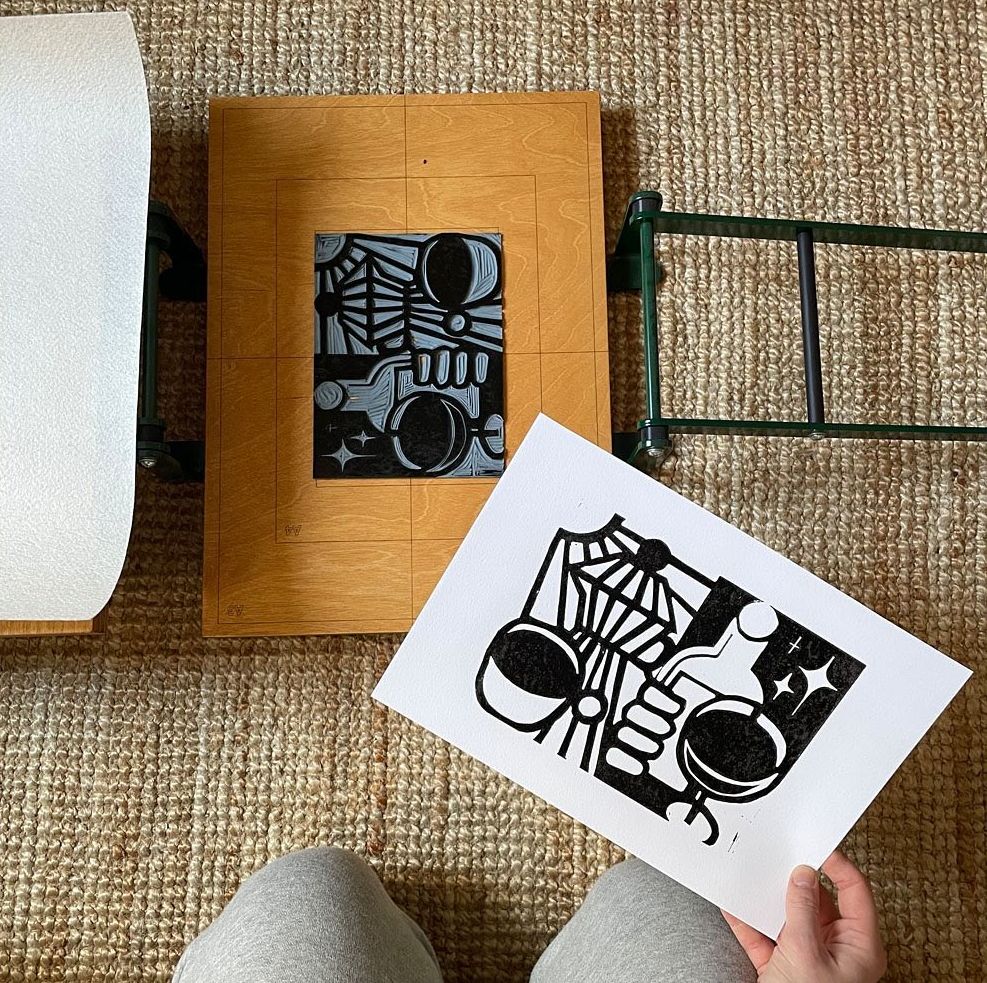
Stamp printing needs no press. You ink the block, place it onto the paper, apply pressure by hand, and lift. The whole printing station fits on a kitchen table.
Printing by Hand
Place the inked stamp face-down onto the paper. Press down evenly with your palm or fist, working across the whole block surface without rocking or sliding. Apply enough pressure to transfer the ink cleanly, but do not press so hard that soft rubber compresses and distorts the image. Lift the block cleanly and re-ink between each impression.
Alternatively, lay the block face-up on the table, lower the paper onto it, and rub the back of the paper firmly with your hand. This printmaking approach lets you see exactly where the block is positioned before committing to the impression - useful when stamping a repeat pattern with precise spacing.
Using a Baren for Stamp Printing
A baren is the natural companion to stamp technique - and it makes a bigger difference than most beginners expect. Where a palm delivers uneven pressure that varies from centre to edge, a baren distributes force uniformly across the entire block surface in a controlled, repeatable motion. The result is a sharper, more complete impression with none of the pale patches or missed edges that hand pressure tends to leave.
The Glass Baren is especially well suited to stamp printing. Its smooth, hard surface lets you apply focused, firm pressure exactly where you need it - it tracks across the paper responsively and gives you instant feedback through your hand about where the ink has transferred and where it has not. For smaller stamps and detailed designs where every line matters, the Glass Baren is the tool that bridges the gap between hand printing and a mechanical press.
The Wooden Baren covers larger surfaces more quickly. For A5 or A4 stamp blocks - decorative tiles, repeat motifs, fabric stamps - its wider footprint means fewer strokes to cover the whole block, and it maintains consistent pressure with less effort over a long stamping session. Both barens require no setup, no power, and no more space than the stamp itself. They are the simplest possible upgrade to hand stamp printing.
Using a Press for Edition Printing
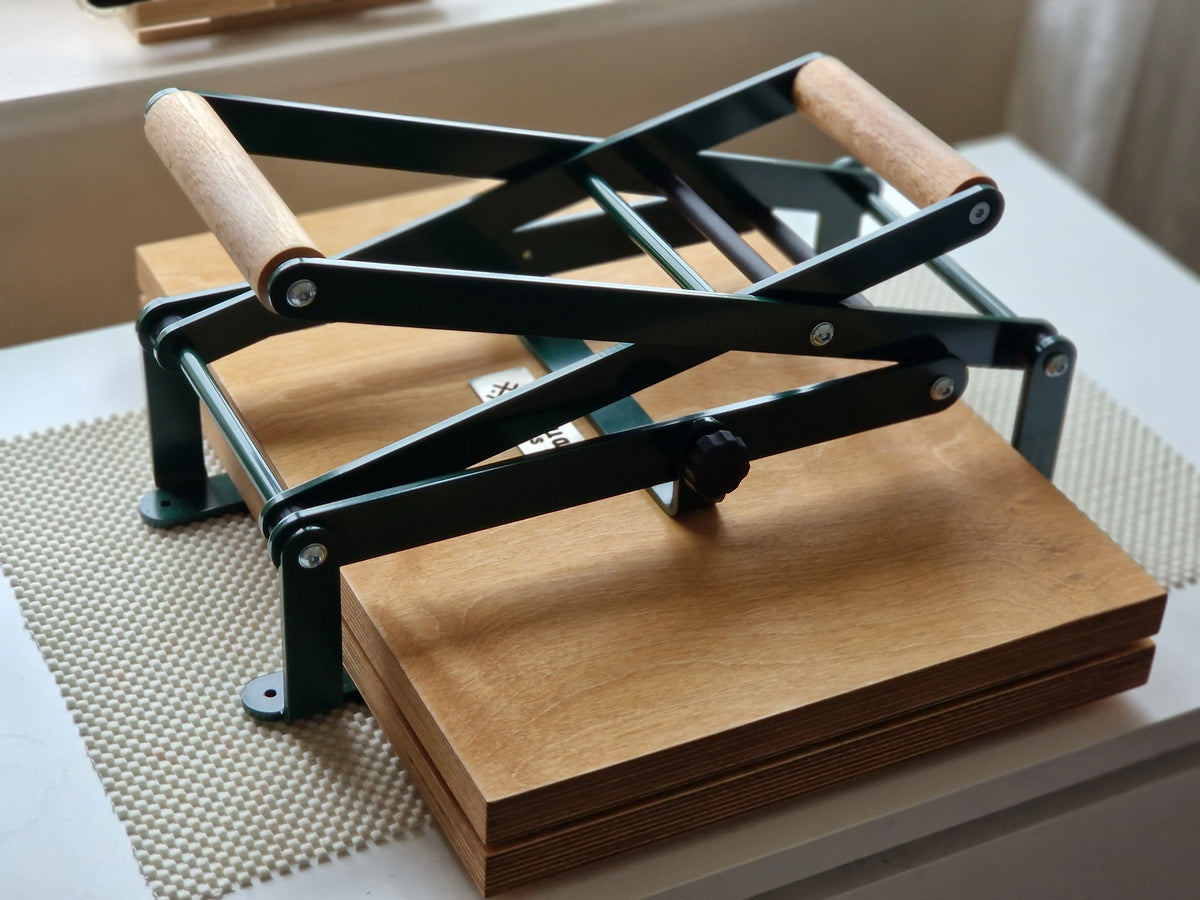
For large editions where every impression needs to be identical, a press is faster and more consistent. Our A5 Lino Press, A4 Lino Press, and A3 Lino Press are all well suited to stamp printing. But a press is an optional upgrade - not a requirement. The Pin Roller helps with registration when printing repeat patterns in alignment.
Tips for Better Block Printing Stamps
Keep Designs Bold
Lines thinner than about 2mm become unreliable in stamp printing - they can fail to hold ink evenly, close up if slightly over-inked, or break during carving on soft materials. Bold, graphic designs with clear positive and negative areas almost always print better than intricate, fine-line designs, especially when printing by hand.
Warm the Lino Before Carving
Cold linoleum is harder and more resistant to the tools. A few minutes on a warm (not hot) radiator or under a desk lamp makes the lino noticeably softer and easier to carve. Do not use a heat gun directly on lino - it can damage the surface.
Clean Your Stamp Between Sessions
Ink left on a stamp block between printing sessions dries and builds up, eventually filling fine details. After each session, wipe the block with a soft cloth dampened with the appropriate solvent (water for water-based inks, a small amount of mineral spirits for oil-based). H2Oil ink cleans up with water, which makes it especially convenient for stamp work.
Registration for Repeat Patterns
If you are stamping a repeat pattern - wrapping paper, fabric yardage, a background texture - register your impressions using a simple grid drawn lightly in pencil on the paper, or use the corner of the stamp block itself as a registration guide. Print each impression, let the ink tack slightly, and position the next impression by eye or against the grid before pressing.
Linocut Stamps vs Rubber Stamps: Which Is Better?
The honest answer depends on what you are making and how many times you plan to use the stamp.
Soft rubber blocks are quicker to carve and more forgiving for beginners - if you make a carving mistake on soft rubber, the low cost means starting fresh is not a significant loss. They are ideal for one-off projects, children's activities, and casual crafting.
Linocut stamps are better in almost every other respect: they hold finer detail, produce crisper impressions, last far longer, and work well with a wider range of inks including oil-based options. If you are making a stamp you intend to use more than a handful of times - or if you want the print quality that linocut is known for - carving your stamp in linoleum is the right choice. The same tools and inks you use for standard linocut printmaking work equally well for linocut stamps.
Frequently Asked Questions About Block Print Stamps
What is the best material for carving a block printing stamp?
For most purposes, linoleum is the best material for carving block printing stamps. It holds detail better than soft rubber, lasts longer, and works with a wider range of inks. Soft rubber carving blocks are a good choice for beginners and children's projects because they are very easy to carve, but they wear faster and hold less fine detail than lino.
Do I need a press to print a block print stamp?
No. Stamp printing works entirely by hand - that is one of its biggest advantages. You ink the block with a roller, press it onto paper, and lift. No press needed. If you want noticeably cleaner and more even impressions without buying a press, a Glass Baren or Wooden Baren is the right next step - it fits naturally into the stamp technique and delivers results that hand pressure alone rarely matches.
Can I use block printing stamps on fabric?
Yes. Block printing on fabric follows the same process as paper printing, but you need to use a fabric-specific ink (or add fabric medium to your block printing ink) and heat-set the print after it dries using an iron. Standard paper inks are not washfast on fabric and will fade or wash out. Place a Lino Felt sheet under the fabric while printing - the cushioned surface helps the ink transfer evenly through the weave and sharpens the impression.
How do I transfer a design onto my carving block?
Draw directly on the block with a soft pencil or fineliner, draw on tracing paper and transfer by rubbing the reverse onto the block, or print a laser-printed design in reverse and transfer the toner with solvent. For non-directional designs (flowers, geometric shapes, textures), you can draw directly without worrying about reversal.
Why is my block print stamp printing unevenly?
Uneven prints are almost always caused by one of three things: uneven ink application (roll ink out more evenly on the slab), uneven printing pressure (work on applying steady, even hand pressure across the whole block), or surface texture in the paper or fabric. Smooth printmaking papers give the most consistent results for hand-stamping.
How do I make my carved stamp last longer?
Clean ink off the block after every printing session, store the block flat away from heat and direct sunlight, and avoid dropping or bending linoleum blocks - they can crack when cold. A well-maintained linoleum stamp will hold its edge through hundreds of impressions. Soft rubber blocks degrade faster but can be extended by keeping them away from oil-based solvents (use only water-clean inks with soft rubber).
Colour Linocut Printing: How to Go Beyond Black and White
Linocut Glossary: Essential Terms for Relief Printmaking