


Most people associate linocut printing with black and white. Strong contrast, clean black ink on white paper - it is a classic that works. But linocut is capable of a lot more. With a little planning and the right inks, you can print in two, three, or four colours - and the results are on a completely different level.
If you have been printing in black only and want to know how to add colour, this article is for you.
Why Print Linocut in Colour?
Colour turns a simple linocut motif into a poster. Colours layer, overlap, and mix - and where two colours meet, a third appears. Red and yellow make orange, blue and yellow make green. You can build a whole colour palette from three or four inks.
Colour linocut does not have to mean complex linocut. Even two tones - a deep blue and an ochre - are enough to make a print you want to frame and hang on the wall.
Three Ways to Print Linocut in Multiple Colours
1. A Separate Block for Each Colour
The most straightforward approach: carve a separate piece of lino for each colour and print each block onto the same sheet of paper, one layer at a time. Let one colour dry, add the next. The result is precisely placed colour layers exactly where you want them.
The advantage is full control over each colour independently, and you keep the blocks for future editions. The main thing to watch is registration - making sure each block prints in exactly the right position relative to the others.
2. Reduction Printing - One Block, Multiple Colours
This is the technique that feels closest to magic. You print from a single block, but in multiple rounds. First, you print the lightest colour across the entire edition. Then you carve away the parts where you want that first colour to stay. Then you print the second colour over the top. And so on.
Each carving step is permanent and cannot be undone - which is why this method is sometimes called the suicide print. But that is also what makes reduction prints so valued: every piece is a true original, and the edition is genuinely limited.
3. Rainbow Roll - a Gradient in One Pass
The rainbow roll is probably the most striking technique, and it is surprisingly simple. Place two colours side by side on the inking slab and roll your brayer across both. The colours begin to blend on the roller and create a smooth gradient. Roll that gradient directly onto the lino block and print.
The result is a print where the colour flows gradually from one tone to another across the entire motif. It looks complex, but all it takes is two inks and one roller.
Which Inks to Use
For multi-colour linocut we recommend oil-based or hybrid inks - specifically our Renesans H2Oil. It behaves like an oil-based ink - colours do not bleed into each other before they should, layers hold their shape and edge - but it cleans up with water. No solvents, no special disposal.
Why not water-based inks? They dry too fast. Before you have time to build a gradient or print through an edition, the ink on the roller starts to dry out and thicken. On a lever press this is even more of a problem - the pace of printing gives water-based inks too much time to skin over between passes.
For mixing and placing colours precisely on the inking slab, a palette knife lets you portion and spread each colour before the roller touches it.
What You Need for Colour Printing
Good news: the equipment you already have for single-colour printing is enough to get started. A few extras help:
- Multiple rollers - ideally one per colour so colours do not contaminate each other between passes. We stock rollers in 6 cm, 12 cm, and 18 cm - for rainbow roll work the widest roller gives the smoothest gradient.
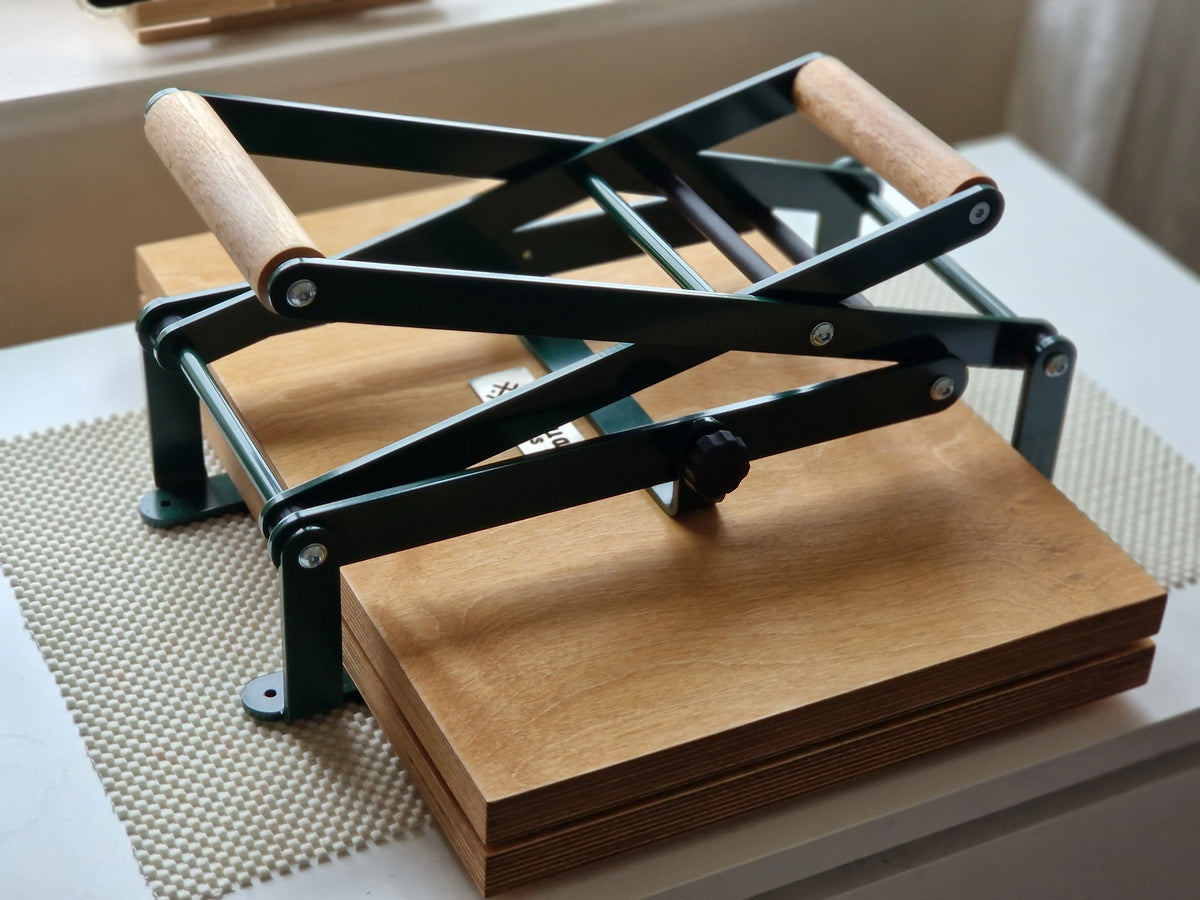
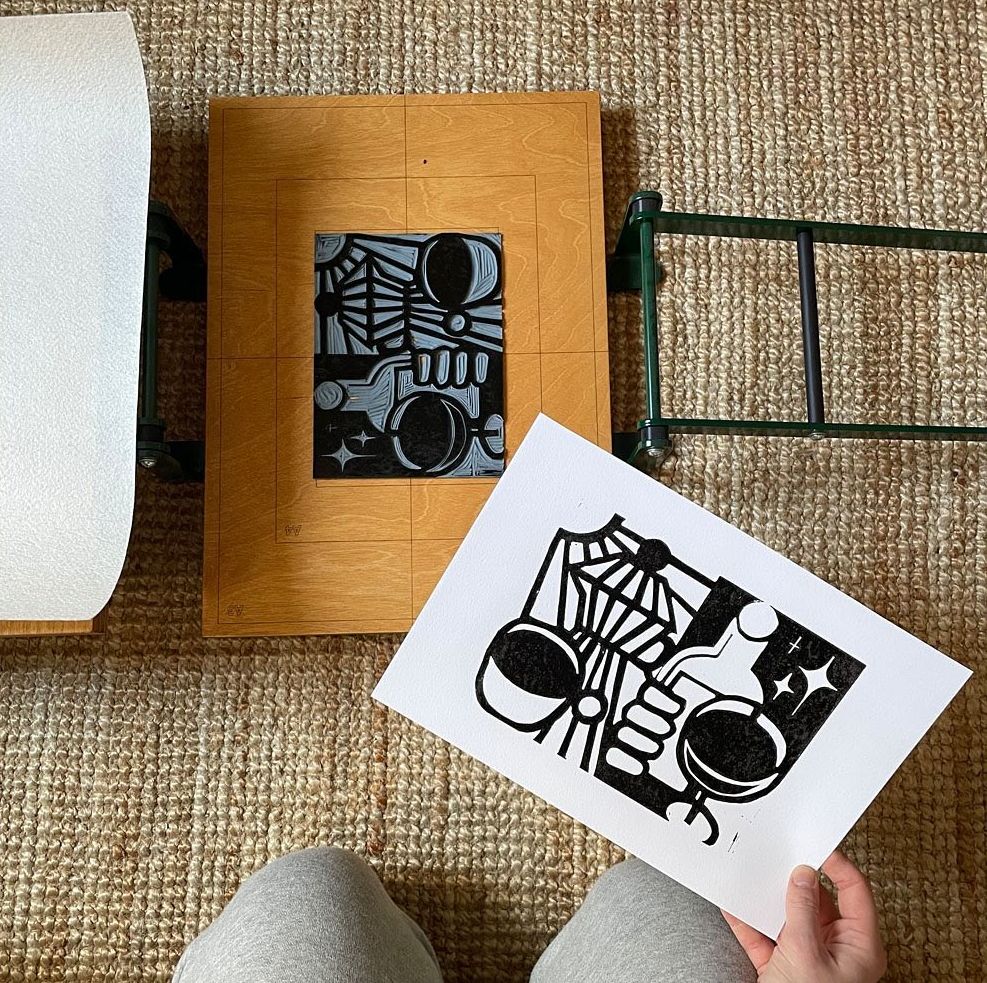
- A baren or lino press - consistent pressure matters more in multi-colour printing because every layer needs to sit at the same depth. A wooden baren or glass baren works well for smaller formats; for larger editions or larger blocks, the controlled, repeatable pressure of a lino press makes a real difference.
- Patience between layers - each colour layer needs to dry fully before the next goes on top. With oil-based inks that means 24 to 48 hours. Do not rush it - a wet layer under the next colour will ruin the print.
Where to Start
The simplest entry point is a two-colour print. Choose a design with clearly separated light and dark areas. Print the light colour first. Let it dry. Print the dark colour over the top. That is it - three tones from two colours: the white paper, colour one, and colour two in the overlap areas.
Once that feels natural, try a rainbow roll as the first layer with a block print on top. Or attempt a reduction print - and watch a single block reveal a multi-colour image one layer at a time.
Colour linocut is not complicated. It just takes a little more planning up front - and delivers a lot more in return.
Linocut Ink Guide: How to Choose the Right Lino Printing Ink
How to Make a Block Print Stamp