
Linocut printing is one of the most satisfying things you can make with your hands. You carve a design into a block of linoleum, roll ink across the surface, press paper on top, and lift it away to reveal a print that is entirely your own. The process is direct, tactile, and endlessly rewarding - and you do not need a professional studio to get started.
This is our complete beginner's guide to lino printing: what supplies you need, how to carve, how to ink, how to print, and how to avoid the most common mistakes. Whether you plan to print by hand or use a lino press, everything you need to know is here.
What Is Linocut Printing?
Linocut is a form of relief printing. You carve away the areas of the block that you do not want to print, leaving the design raised. Ink is then rolled onto the raised surface and transferred to paper under pressure. The result is a clean, bold print with the character of the hand that made it.
The material is linoleum - the same flooring material patented in 1860 - which has a smooth, grain-free surface that is much easier to carve than wood. This makes it ideal for beginners: your tools can move in any direction, curves are achievable, and mistakes can often be corrected or incorporated into the design.
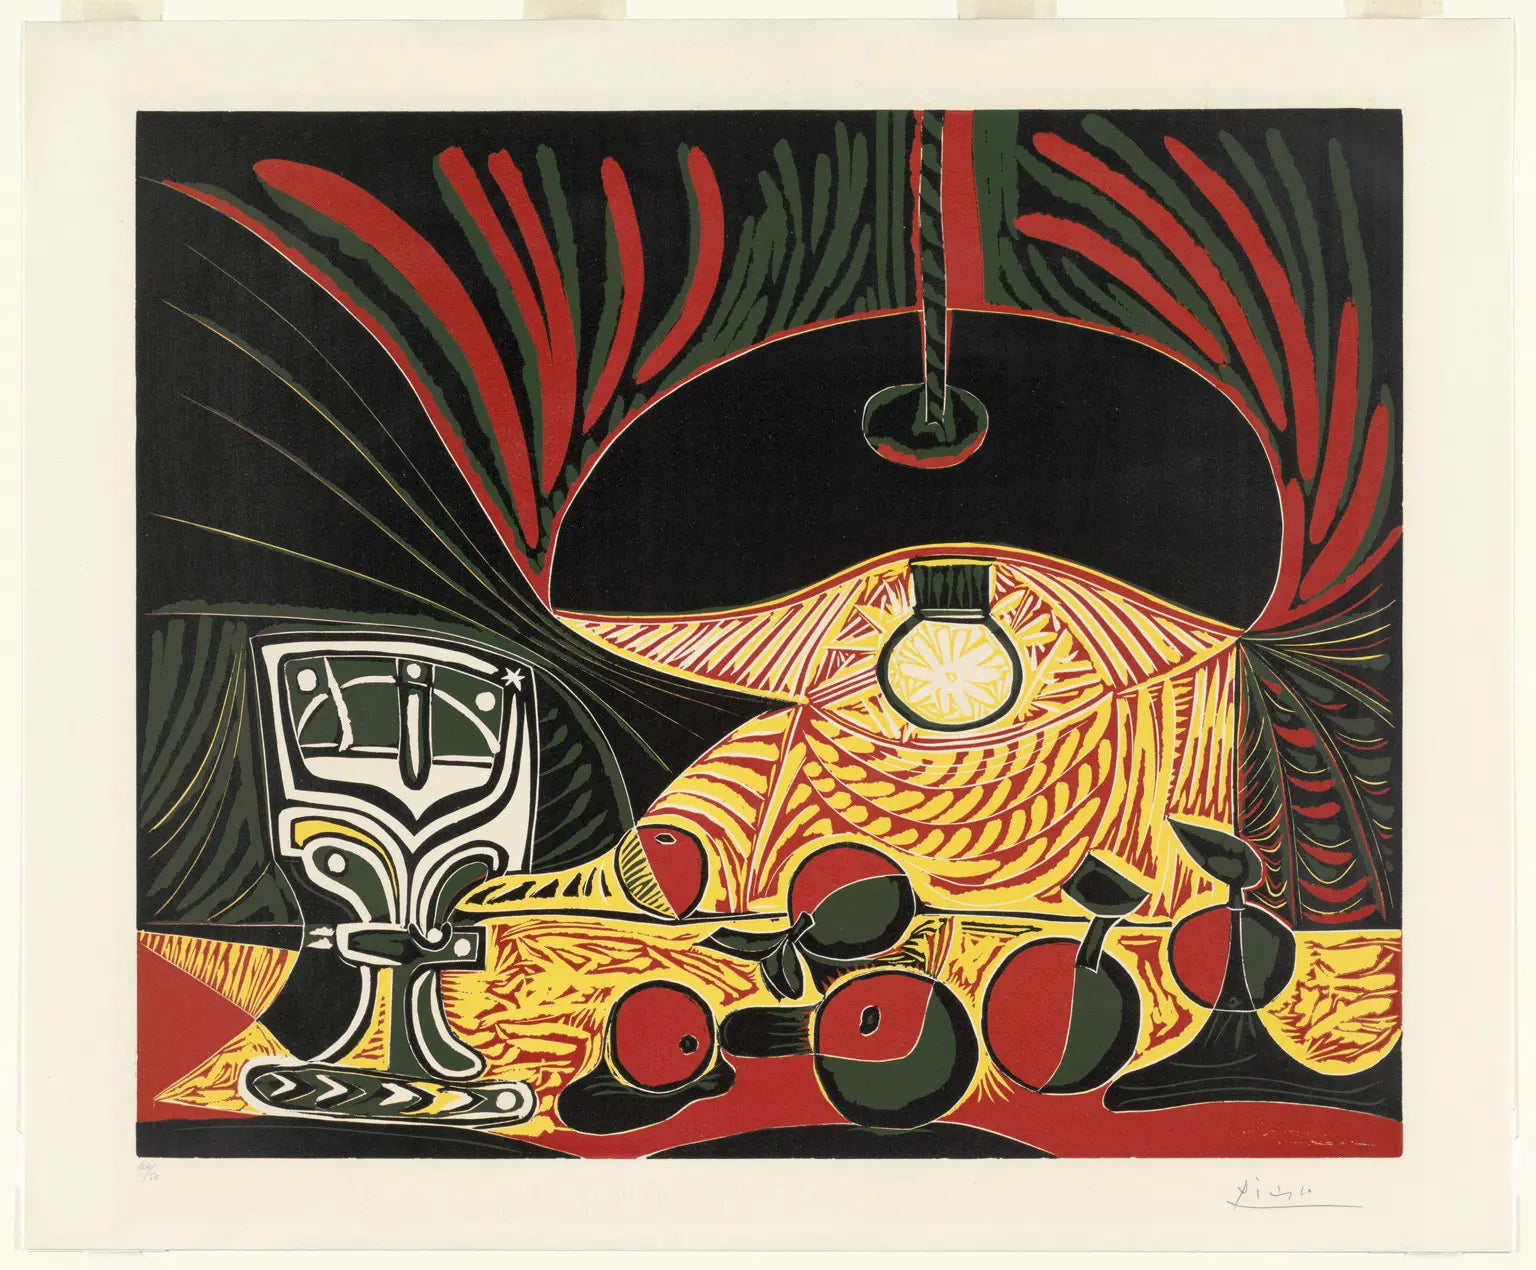
Linocut has been used by artists from Ernst Ludwig Kirchner and the German Expressionists to Pablo Picasso, who made more than 150 reduction linocuts in his seventies. It is a medium with serious artistic heritage - and a surprisingly low barrier to entry.
Linocut Supplies You Will Need
You do not need much to get started. Here is a complete list of everything required for your first lino print, followed by optional upgrades as your practice grows.
The Essentials
- Lino block - the surface you will carve. Grey battleship linoleum is the most common type for printmaking. Start with A4 size for your first projects.
- Lino cutting tools - a basic set with several interchangeable blades (V-gouge for lines, U-gouge for clearing larger areas). A good beginner set covers most of what you will need.
- Cutting mat - protects your work surface and keeps the block from sliding while you carve.
- Printing ink - oil-based or water-based relief printing ink. Our Renesans H2Oil is an excellent choice: it behaves like oil-based ink but cleans up with water.
- Ink roller (brayer) - a rubber roller used to apply ink evenly across the block. A 12 cm roller is versatile for most print sizes.
- Paper - start with smooth 80 gsm copy paper for proofing, then move to printmaking paper for final editions. See our full paper guide for recommendations.
- A smooth hard surface - for rolling out ink. A glass sheet, ceramic tile, or acrylic slab all work well.
- Pencils and transfer paper - for getting your design onto the block.
Optional but Recommended
- Printmaking baren - a smooth, flat tool used to apply pressure when printing by hand. Far more effective than a wooden spoon and gives more even results.
- Glass baren - for fine detail work and tight areas. The glass surface allows you to see exactly where you are pressing.
- Lino press - if you want consistent, professional-quality results across an edition, a dedicated press removes the variable of hand pressure entirely. Available from A5 to A2 textile size.
- Printing felt - placed beneath the paper during printing to cushion the impression and improve ink transfer.
- Palette knife - for spreading ink onto your rolling surface.
- Artist apron - printing ink gets everywhere. Protect your clothes.
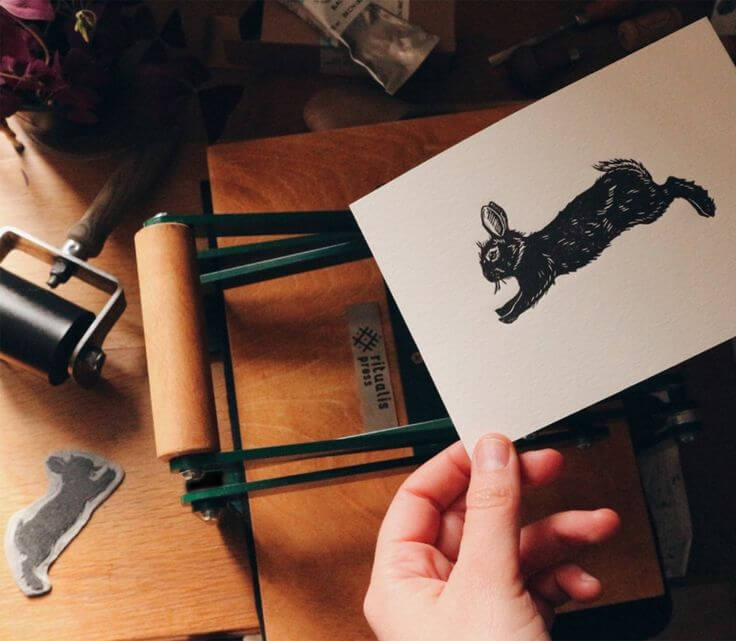
Watch: Linocut Printing with a Ritualis Press
Before we walk through the steps, here is a short video showing the full process using our A4 Lino Press - from inking the block to pulling the final print.
How to Lino Print: Step by Step
Follow these steps for your first successful lino print. Do not rush the carving stage - it is where the work happens.
Step 1: Choose or Create Your Design
Start simple. Bold shapes, strong silhouettes, and clean lines translate much better to linocut than fine detail or gradients. Flowers, animals, geometric patterns, and text all work well for first projects.
Draw your design on paper at the size you want to print. If your design has text or anything directional, remember it will be mirrored when printed - so draw or transfer it in reverse.
Tip: keep a sketchbook next to your block. Sketch variations of your design before committing to the lino.
Step 2: Transfer Your Design onto the Block
There are several ways to get your design onto the lino surface:
- Transfer paper method: place graphite transfer paper (carbon paper) face-down on the lino, lay your drawing on top, and trace over the lines with a pencil. The graphite transfers to the lino surface.
- Pencil rubbing method: shade the back of your drawing with a soft pencil, then trace over the front. The graphite from the back transfers to the lino.
- Draw directly: use a soft pencil or a fine-tip permanent marker to draw your design directly onto the lino. Great for simple designs and confident line work.
- Photocopy transfer: print your design on a laser printer, place it face-down on the lino, and apply acetone (nail polish remover) with a cloth. The toner transfers to the surface. Not every printer gives reliable results, so test first.
Step 3: Carve Your Block
This is the heart of the process - and the part that takes practice. Your cutting tools come with interchangeable blades; start with a V-gouge for outlining and a U-gouge for clearing larger areas.
Key rules for carving:
- Carve away from yourself at all times. If you need to cut toward yourself, rotate the block, not your body.
- Keep your blades sharp. A dull blade requires more force and is more likely to slip. Replace or strop blades regularly.
- Cut at a shallow angle - about 30 to 45 degrees - rather than straight down. This creates a stable, bevelled edge that holds up over an edition.
- Start with the outline, then clear the background. It is much easier to refine a line once the surrounding area is open.
- Carve a test area first and take a proof print before committing to the full design. What looks fine in the block can look very different once inked.
Warm lino carves more easily than cold lino. If you are working in a cold room, briefly warm the block with a hairdryer or place it on a radiator for a minute before carving.
Use your cutting mat underneath the block at all times. It prevents the block from sliding and protects your work surface.
Step 4: Prepare Your Ink
Squeeze a small amount of printing ink onto your inking slab. Use a palette knife to spread it into a rough rectangle about the width of your roller.
Roll the ink out with your ink roller until you have an even, thin layer with a slightly tacky texture. You should hear a faint hiss as the roller moves across the slab. If the ink is too thick it will fill in your carved lines; if it is too thin it will not transfer properly.
The ink layer on your slab should be thin enough to almost see through, not a thick paste. This is the most common thing beginners get wrong - less ink gives better results.
Step 5: Ink Your Block
Roll the ink onto the surface of your carved block using even, overlapping strokes. Cover the entire raised surface without pressing so hard that ink squeezes down into the carved areas.
Roll in multiple directions - horizontal, vertical, diagonal - to ensure even coverage. The block should look consistently inked, not patchy or shiny in places.
Work quickly. Ink begins to skin over as it dries, so do not over-roll once you have good coverage.
Step 6: Print
There are two main approaches: hand printing and press printing.
Hand Printing
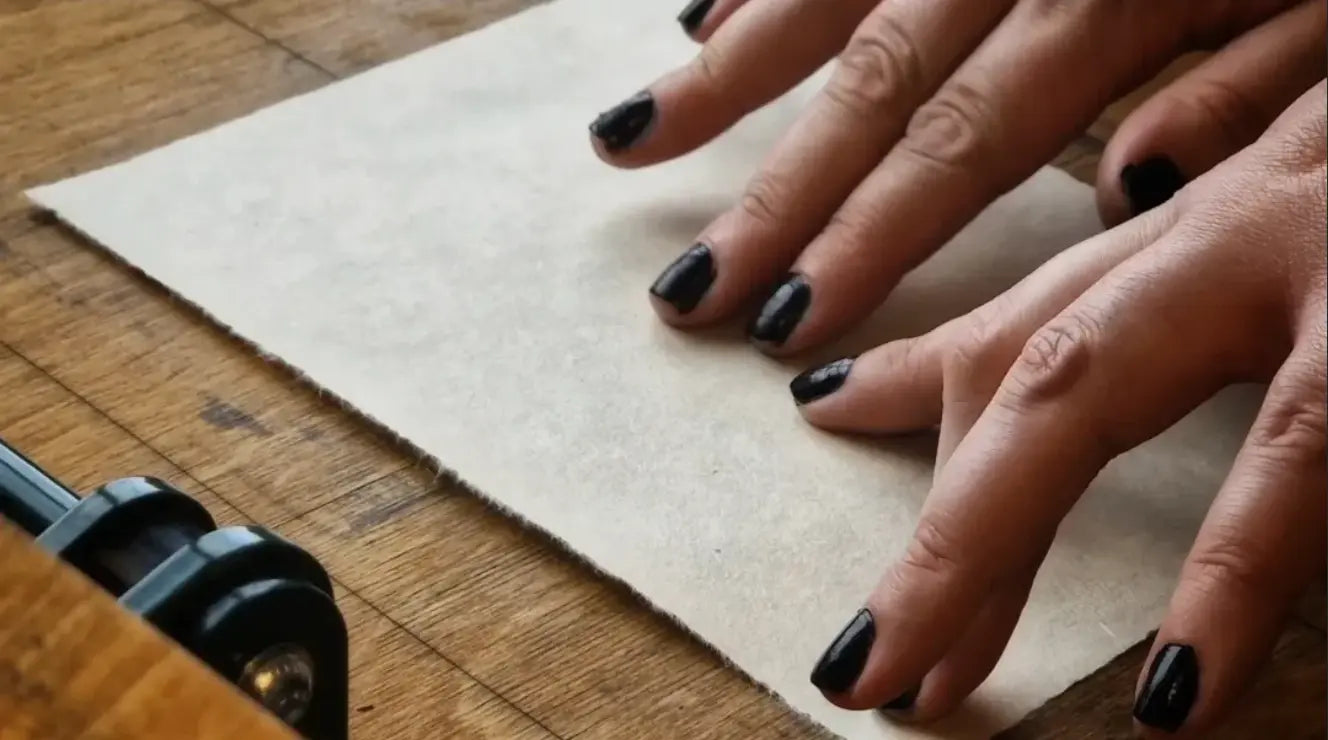
Place your paper carefully over the inked block. Do not shift it once it touches the ink or you will get a blurred print. Hold the paper still with one hand and use your other hand to burnish with a Wooden Baren or Glass Baren.
Work in firm, circular overlapping strokes across the entire surface. Apply consistent pressure - not so hard that the paper tears, but firm enough to transfer ink fully. Burnish the edges and corners, which are often missed.
If you have printing felt, place it on top of the paper before burnishing - it evenly distributes the pressure and helps the paper conform to the block surface.
Peel the paper back slowly from one corner, keeping it as flat as possible to avoid smearing.
Press Printing
Using a lino press gives you consistent, repeatable results across an entire edition. Place the inked block on the press bed, lay your paper on top, and bring the lever down smoothly.
Our presses feature a dual-lever system and a laser-engraved centering matrix, so you can register prints precisely without guesswork. This is particularly valuable when printing editions of 10, 20, or 50 prints where consistency matters.
Step 7: Dry and Evaluate
Lay your prints flat or hang them to dry. Oil-based inks typically take 24 to 48 hours to dry fully. Water-based inks dry faster - usually within a few hours.
Once dry, examine the print critically. Where is coverage uneven? Where did ink bleed into the carved lines? What would you carve differently? The answers will make your next print better.
Number your prints in pencil (e.g. 3/10 means the third print in an edition of ten), sign them in the bottom right corner, and note the title on the left. This is the standard convention for editioned prints.
Common Linocut Problems and How to Fix Them
Every printmaker encounters these. Here is what to do when things go wrong.
Patchy or Uneven Ink Coverage
Cause: too little ink, uneven rolling, or a cold room.
Fix: add slightly more ink to your slab, roll in more directions, and make sure the lino is at room temperature before inking. Check that your roller is clean - dried ink on the roller creates streaks.
Ink Bleeding into Carved Lines
Cause: too much ink on the block, or ink that is too soft/warm.
Fix: use less ink. Roll thinner layers and apply the roller more lightly. If your studio is very warm, the ink may be too soft - let it cool slightly before rolling.
Paper Shifting Mid-Print
Cause: paper not held still when placed on the block.
Fix: use a simple registration system - tape a piece of paper to the edge of your press or work surface to mark where the block sits, and align the paper to two edges before lowering it onto the block. A press with a centering matrix, like our A3 Lino Press, removes this problem entirely.
White Lines Showing Through Dark Areas
Cause: the block surface is uneven, or the carving has left small ridges.
Fix: lightly sand the surface of the block with fine-grit sandpaper to level it out. When using a baren, apply more pressure to those areas.
Carved Lines Filled with Ink
Cause: too much ink, or carved lines that are too shallow or narrow.
Fix: go back to the block and carve the lines slightly deeper and wider. For very fine lines, accept that some ink bleed is inevitable - it can be part of the character of the print.
Tearing or Scuffing the Paper
Cause: too much pressure when burnishing, or moving the baren across the paper too aggressively.
Fix: use a firmer paper (at least 80 gsm), reduce pressure slightly, and keep the baren flat rather than tilting it. Placing printing felt between the baren and the paper distributes pressure and protects the surface.
Colour Linocut Printing: Where to Go Next
Once you are comfortable with single-colour printing, colour opens up a whole new range of possibilities. There are three main approaches:
Multiple Blocks
Carve a separate block for each colour in the design. Print each block in sequence, registering each pass carefully so the colours align. This is the most controllable method and allows you to re-use individual colour blocks.
Reduction Linocut
The same block is used for every colour. Print the lightest colour first, then carve away the areas that should remain that colour, print the next colour, carve again, and so on. The block is progressively destroyed, which means you commit to a fixed edition size from the start. This was Picasso's preferred method for his famous linocut series in the 1960s.
Roll-Up Colour
Apply different colours to different areas of the block using smaller rollers before printing. This is fast and spontaneous, giving a painterly, unique quality to each print. Our 6 cm roller is useful for applying colour to small or precise areas.
Linocut on Fabric
Lino printing is not limited to paper. With the right ink, you can print on fabric - t-shirts, tote bags, tea towels, scarves. Use a fabric-specific block printing ink and cure the print with heat (a domestic iron works for most fabric inks). Our A2 Textile Lino Press is specifically designed for fabric printing, offering the larger format and consistent pressure needed for textile work.
Frequently Asked Questions About Lino Printing
How long does it take to make a linocut?
A simple design on a small block (A5 or smaller) can be carved and printed in two to three hours. More complex designs on larger blocks can take days of carving. The printing itself - once the block is ready - is fast: you can pull 20 prints in under an hour.
Can you fix mistakes in a linocut?
Sometimes. If you carve away too much, you cannot add material back. However, small areas can be filled with a two-part epoxy or superglue and carved again once dry. The better approach is to carve conservatively - remove less than you think you need, take a proof, and carve more if required.
What is the best lino for beginners?
Standard grey battleship linoleum (the type used in printmaking) is the most widely recommended. It is firm enough to hold fine lines but soft enough to carve without excessive effort. Softer rubber blocks are sometimes recommended for beginners, but they do not hold detail as well and can feel spongy under the tool. Our lino sheets are the traditional printmaking material and the best starting point.
Do I need a press to lino print?
No - printing by hand with a baren or even a wooden spoon can give excellent results, especially for smaller prints. A press becomes useful when you are producing editions (multiple identical prints from the same block), working at larger formats, or printing on heavier papers that require consistent mechanical pressure. Many printmakers use both methods: hand printing for proofing and exploration, a press for final editions.
What paper should I use for lino printing?
For proofing, smooth 80 gsm copy paper works fine. For final prints, a dedicated printmaking paper in the 70 to 120 gsm range gives much better results. Japanese papers like Kitakata (~30 gsm) pick up ink beautifully with minimal pressure; heavier western papers like Rives BFK (115 gsm) give a more substantial, archival result. Read our complete paper guide for a full breakdown.
How do I clean my lino tools and roller?
For water-based inks, rinse tools and rollers with warm water immediately after use. For oil-based inks, use a dedicated ink cleaner or vegetable oil followed by soap and water. Never let ink dry on your roller - it is very difficult to remove once cured and will affect print quality.
Can children do lino printing?
Yes, with appropriate supervision. For younger children, soft rubber blocks and safety cutters are preferable to standard lino and metal tools. Older children (10+) can work with standard lino under close adult supervision. Water-based inks are the safest choice for all ages. The printing stage - inking and pressing - is accessible to any age group.
Building Your Practice
The best way to improve at linocut is to print regularly and keep everything you make. Your early prints will look different from your later ones - and that gap is the evidence of your progress.
A few habits that help:
- Always pull a proof before committing to your final paper. It takes an extra two minutes and saves countless sheets.
- Keep notes on your editions: ink type, paper, number of prints pulled, pressure used. This reference will be invaluable as your practice grows.
- Use a dedicated sketchbook for design development next to your press.
- Clean your tools and roller after every session. Five minutes of cleaning now saves an hour of problem-solving next time.
- Look at the work of artists who used the medium seriously - Sybil Andrews, Cyril Power, Elizabeth Catlett. Understanding where the medium has been helps you understand where you can take it. See our full history of linocut and its artists for a guided introduction.
Linocut rewards patience and attention. The more carefully you carve, the more clearly your intention comes through in the print. And the more you print, the better your eye becomes for what works.
Shop the Full Linocut Toolkit
Everything mentioned in this guide is available in our full collection. If you are just getting started, these are the essentials:
- Lino Sheet - your carving surface
- Lino Cutting Set - tools for carving
- Cutting Mat - protects your work surface
- Lino Ink Renesans H2Oil - professional-grade ink, water-washable
- Ink Roller 12 cm - for even ink application
- Printmaking Wooden Baren - for hand printing
- Printing Felt - for better ink transfer
Ready to take it further? Our presses - from the compact A5 to the studio-scale A2 Textile - are designed for exactly the kind of work this guide describes: consistent, repeatable, beautiful prints made with care.
The History of Lino Printing and Its Artists